

Let your agent do it
Let your agent do it
To run this guide from your terminal or your coding agent, run Every step below is what the agent just did, in the open, so you can read the result or do it by hand.
npx checkly init in your project first. It installs the Checkly CLI and Checkly Skills for your agent. Then paste the prompt below into Claude Code, Cursor, Codex, or any agent that supports skills. It builds the same setup as this guide, proves it with npx checkly test --record, and stops for your confirmation before npx checkly deploy.Prompt
Step 1: Write one test per step of the flow
A monitor that only runs the checkout tells you it broke, not where. Split the flow into the steps a shopper takes, so a failure names the step.tests/shopper.ts
tests/checkout.spec.ts
Step 2: Assert the confirmation text, not the page
The last line of the checkout test is the whole point of the monitor. A rendered page proves nothing about the order. The confirmation text does.getByText matches anywhere on the page, case-insensitive, substring included, which suits anything a customer has to see: an order number, a “thank you” message, a best seller on the home page.
tests/checkout.spec.ts
/order (is on the way|confirmed)/i. When the text can appear more than once, add .first().
Step 3: Point the tests at each environment
Keep the shop’s address out of the tests. The Playwright config reads it fromSHOP_URL and falls back to your dev server, so the same specs run locally, against staging in CI, and against production on Checkly.
playwright.config.ts
screenshot: 'only-on-failure' is what puts a screenshot on the failed result in Checkly. Checkly records a trace on every run regardless of the trace setting, and sets CHECKLY=1 on every run, which is what turns on the retries here. To run locally against the demo shop, prefix the command with SHOP_URL=https://danube-web.shop.
Step 4: Define the monitor
Install the CLI if this repository does not have it yet, then describe the monitor next to your Playwright config. A Playwright Check Suite runs the whole suite with your config and shows one test case per spec. A Browser Check runs a single spec file on its own. Pick one.Terminal
SHOP_URL, and the tests never change. The Browser Check path needs a copy of the checkout spec that opens process.env.SHOP_URL itself, kept in checks/checkout.spec.ts in the sample.
Step 5: Run it on Checkly, then deploy
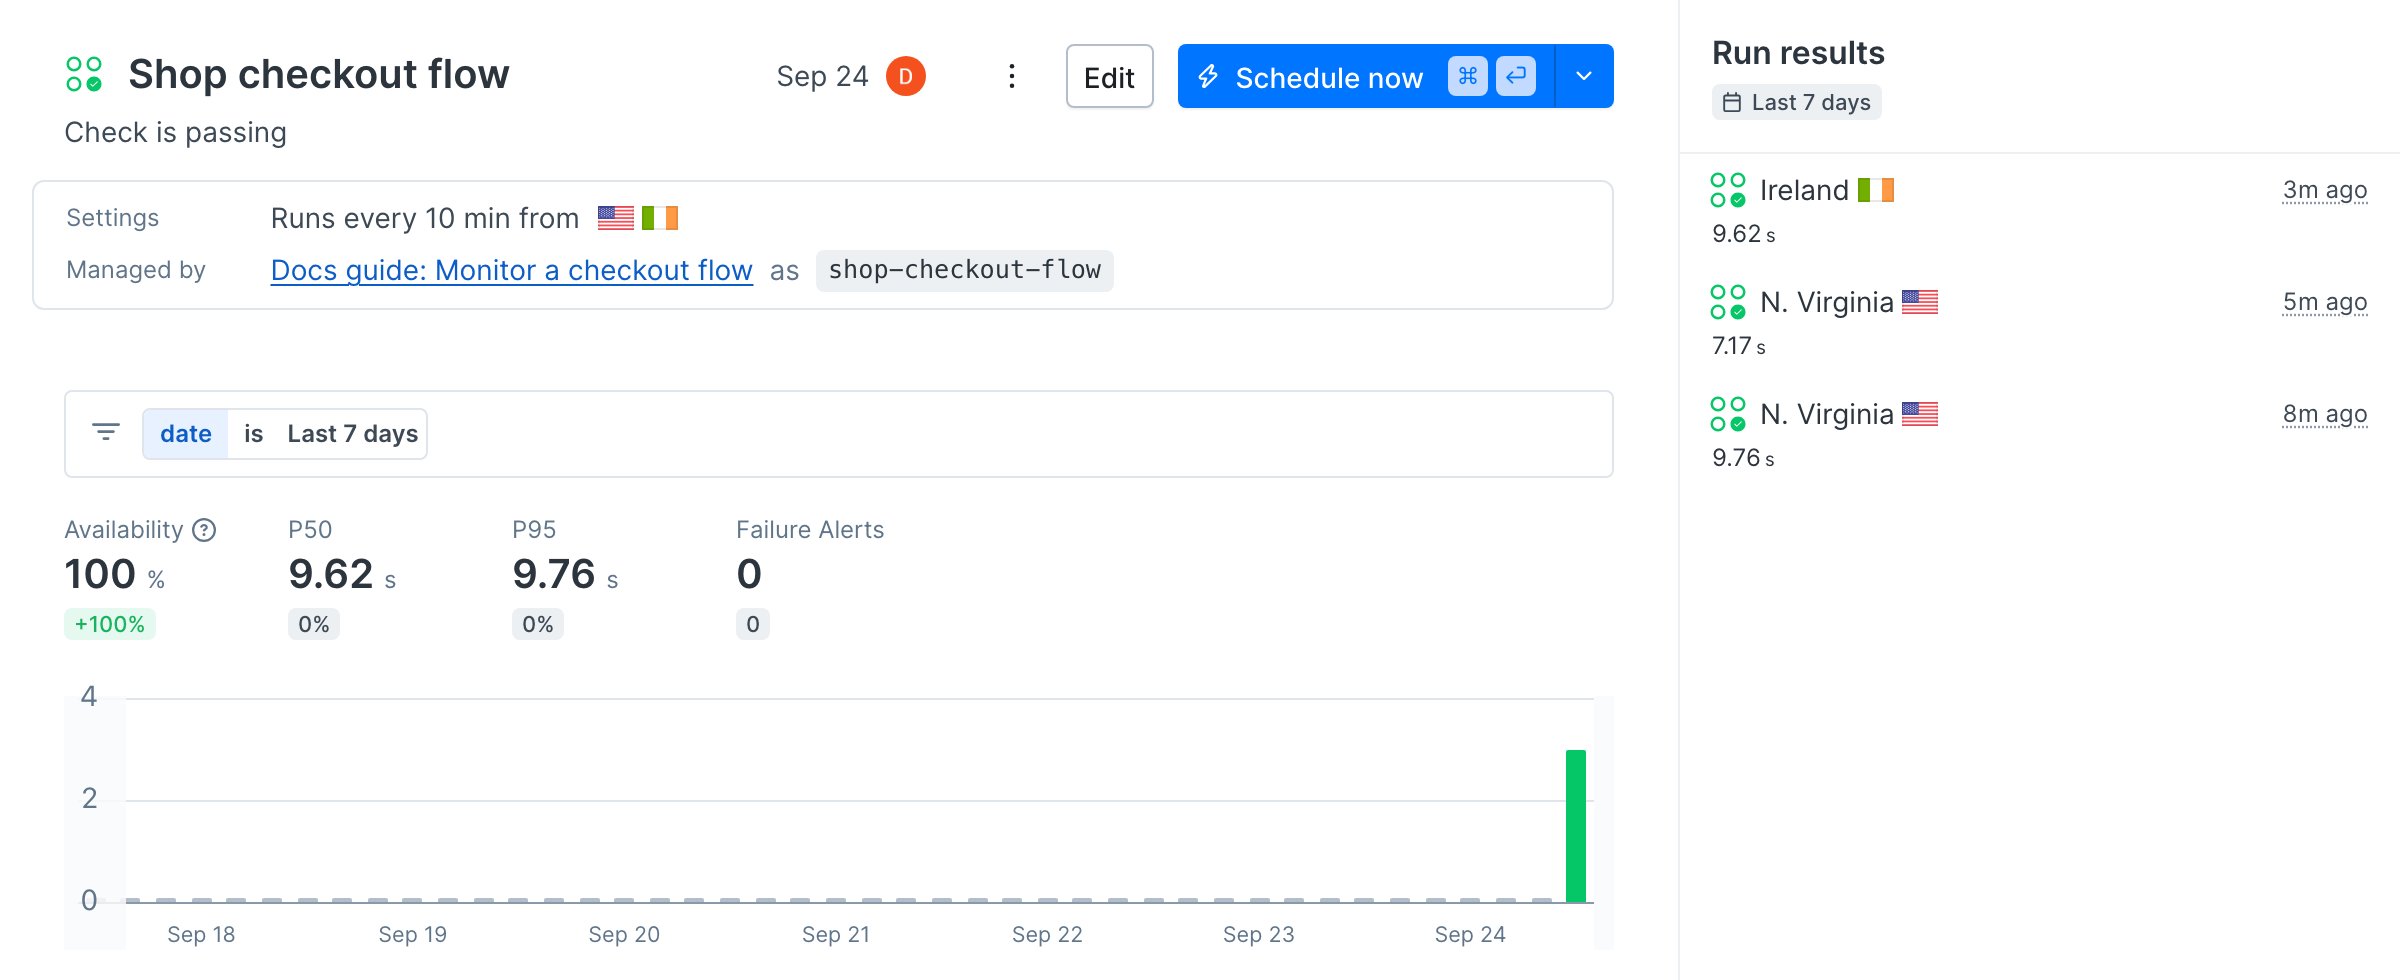
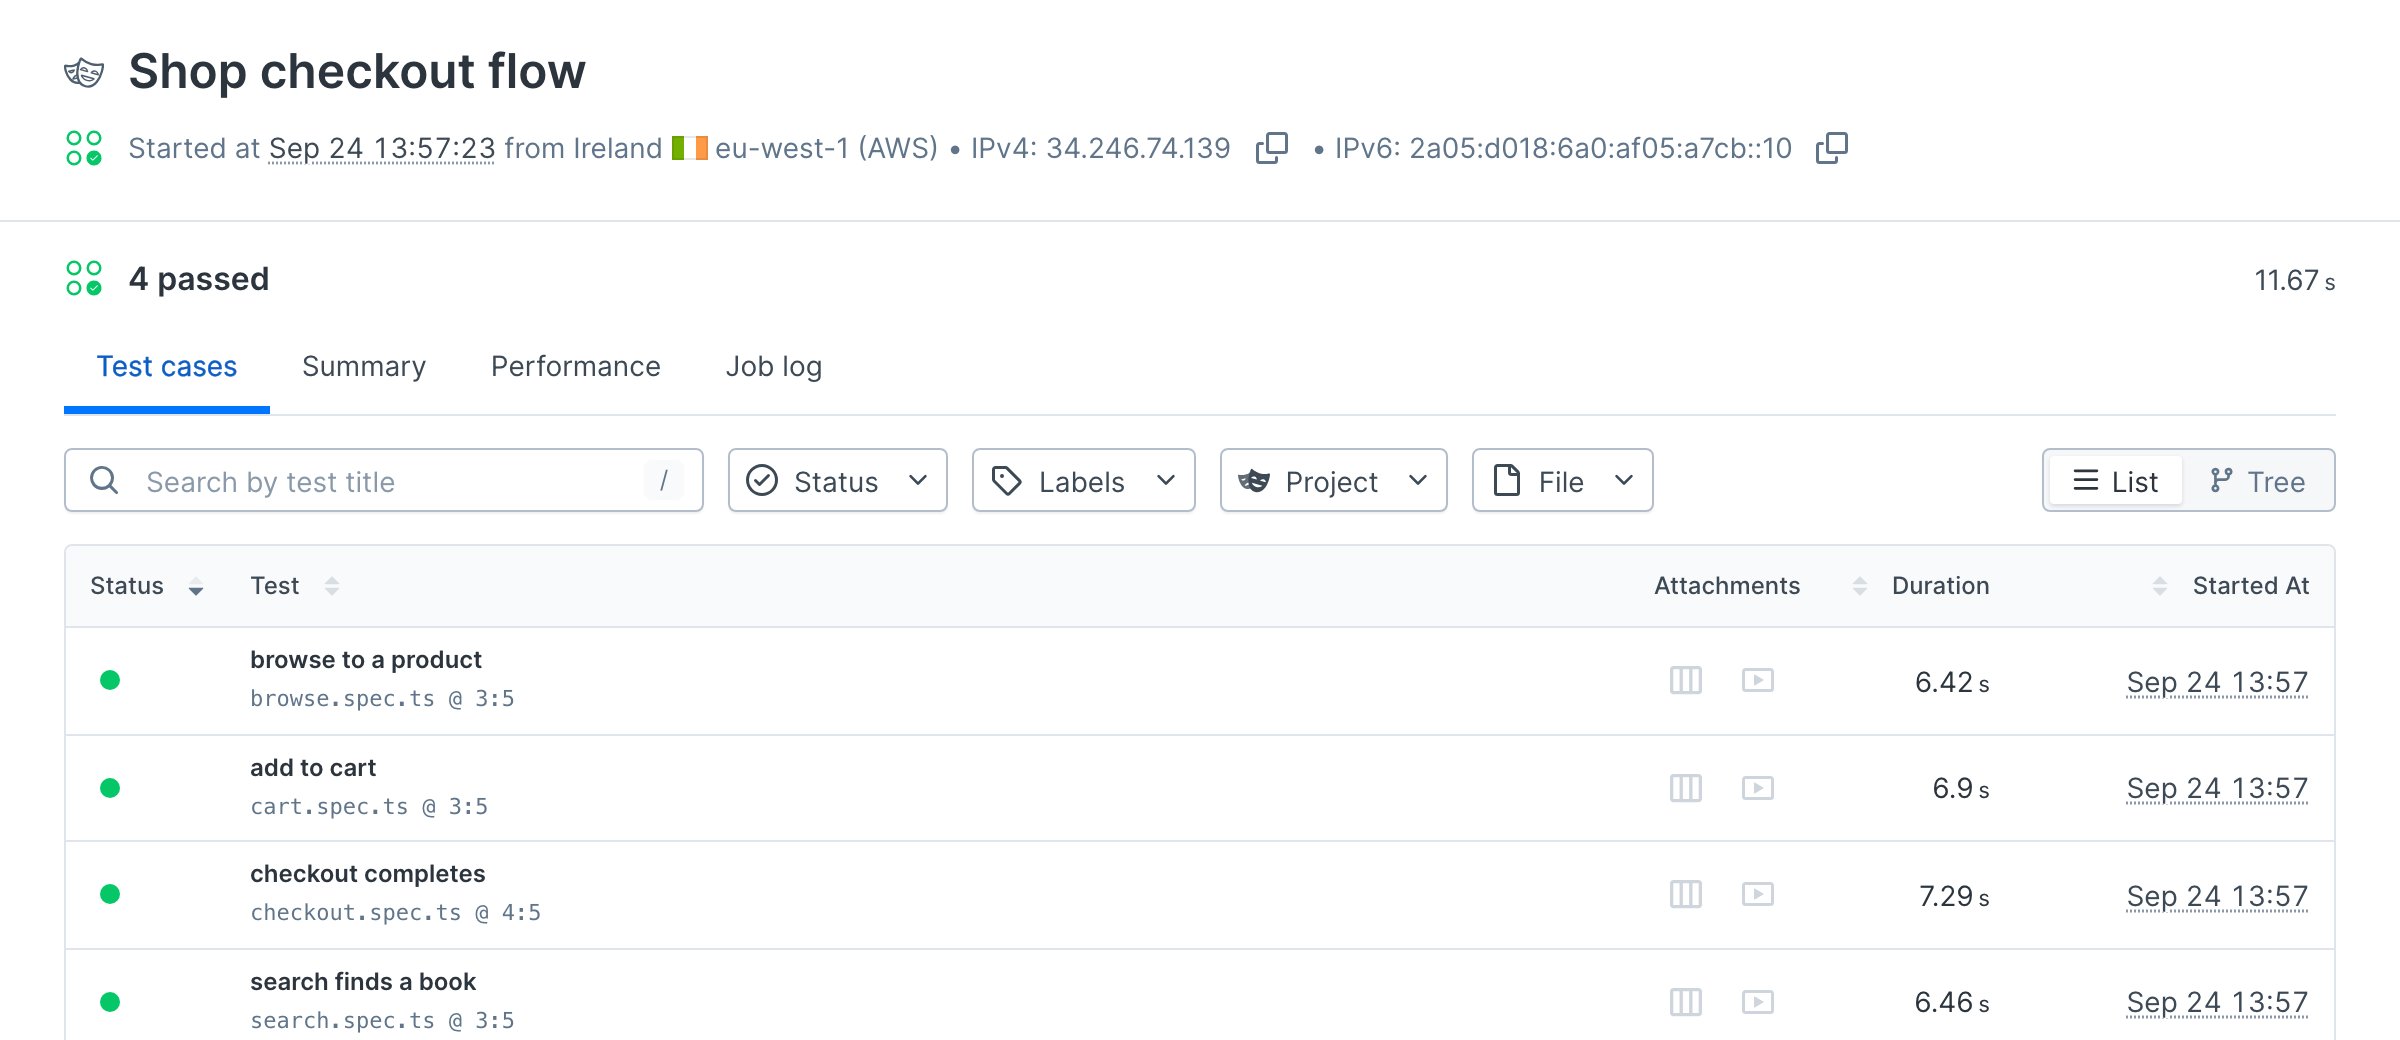
npx checkly test bundles the project, runs it on Checkly’s infrastructure, and streams the result back. --record keeps the run so you can open it in the app.
Terminal
Terminal
Terminal
Terminal
Same thing in Terraform
If your team manages infrastructure with Terraform, the checkout flow is onecheckly_check resource: a Browser Check with the self-contained spec and the same SHOP_URL variable.
terraform/main.tf
TF_VAR_checkly_api_key and TF_VAR_checkly_account_id, then run terraform init and terraform plan.
Terminal
terraform apply creates the check. The provider also has a checkly_playwright_check_suite resource for the four-test split from step 1; see the Terraform provider docs.
Verify it works
Break the checkout on purpose before production does. Rename theBuy button in tests/checkout.spec.ts to Purchase and run the suite again, without deploying.
Terminal
Terminal
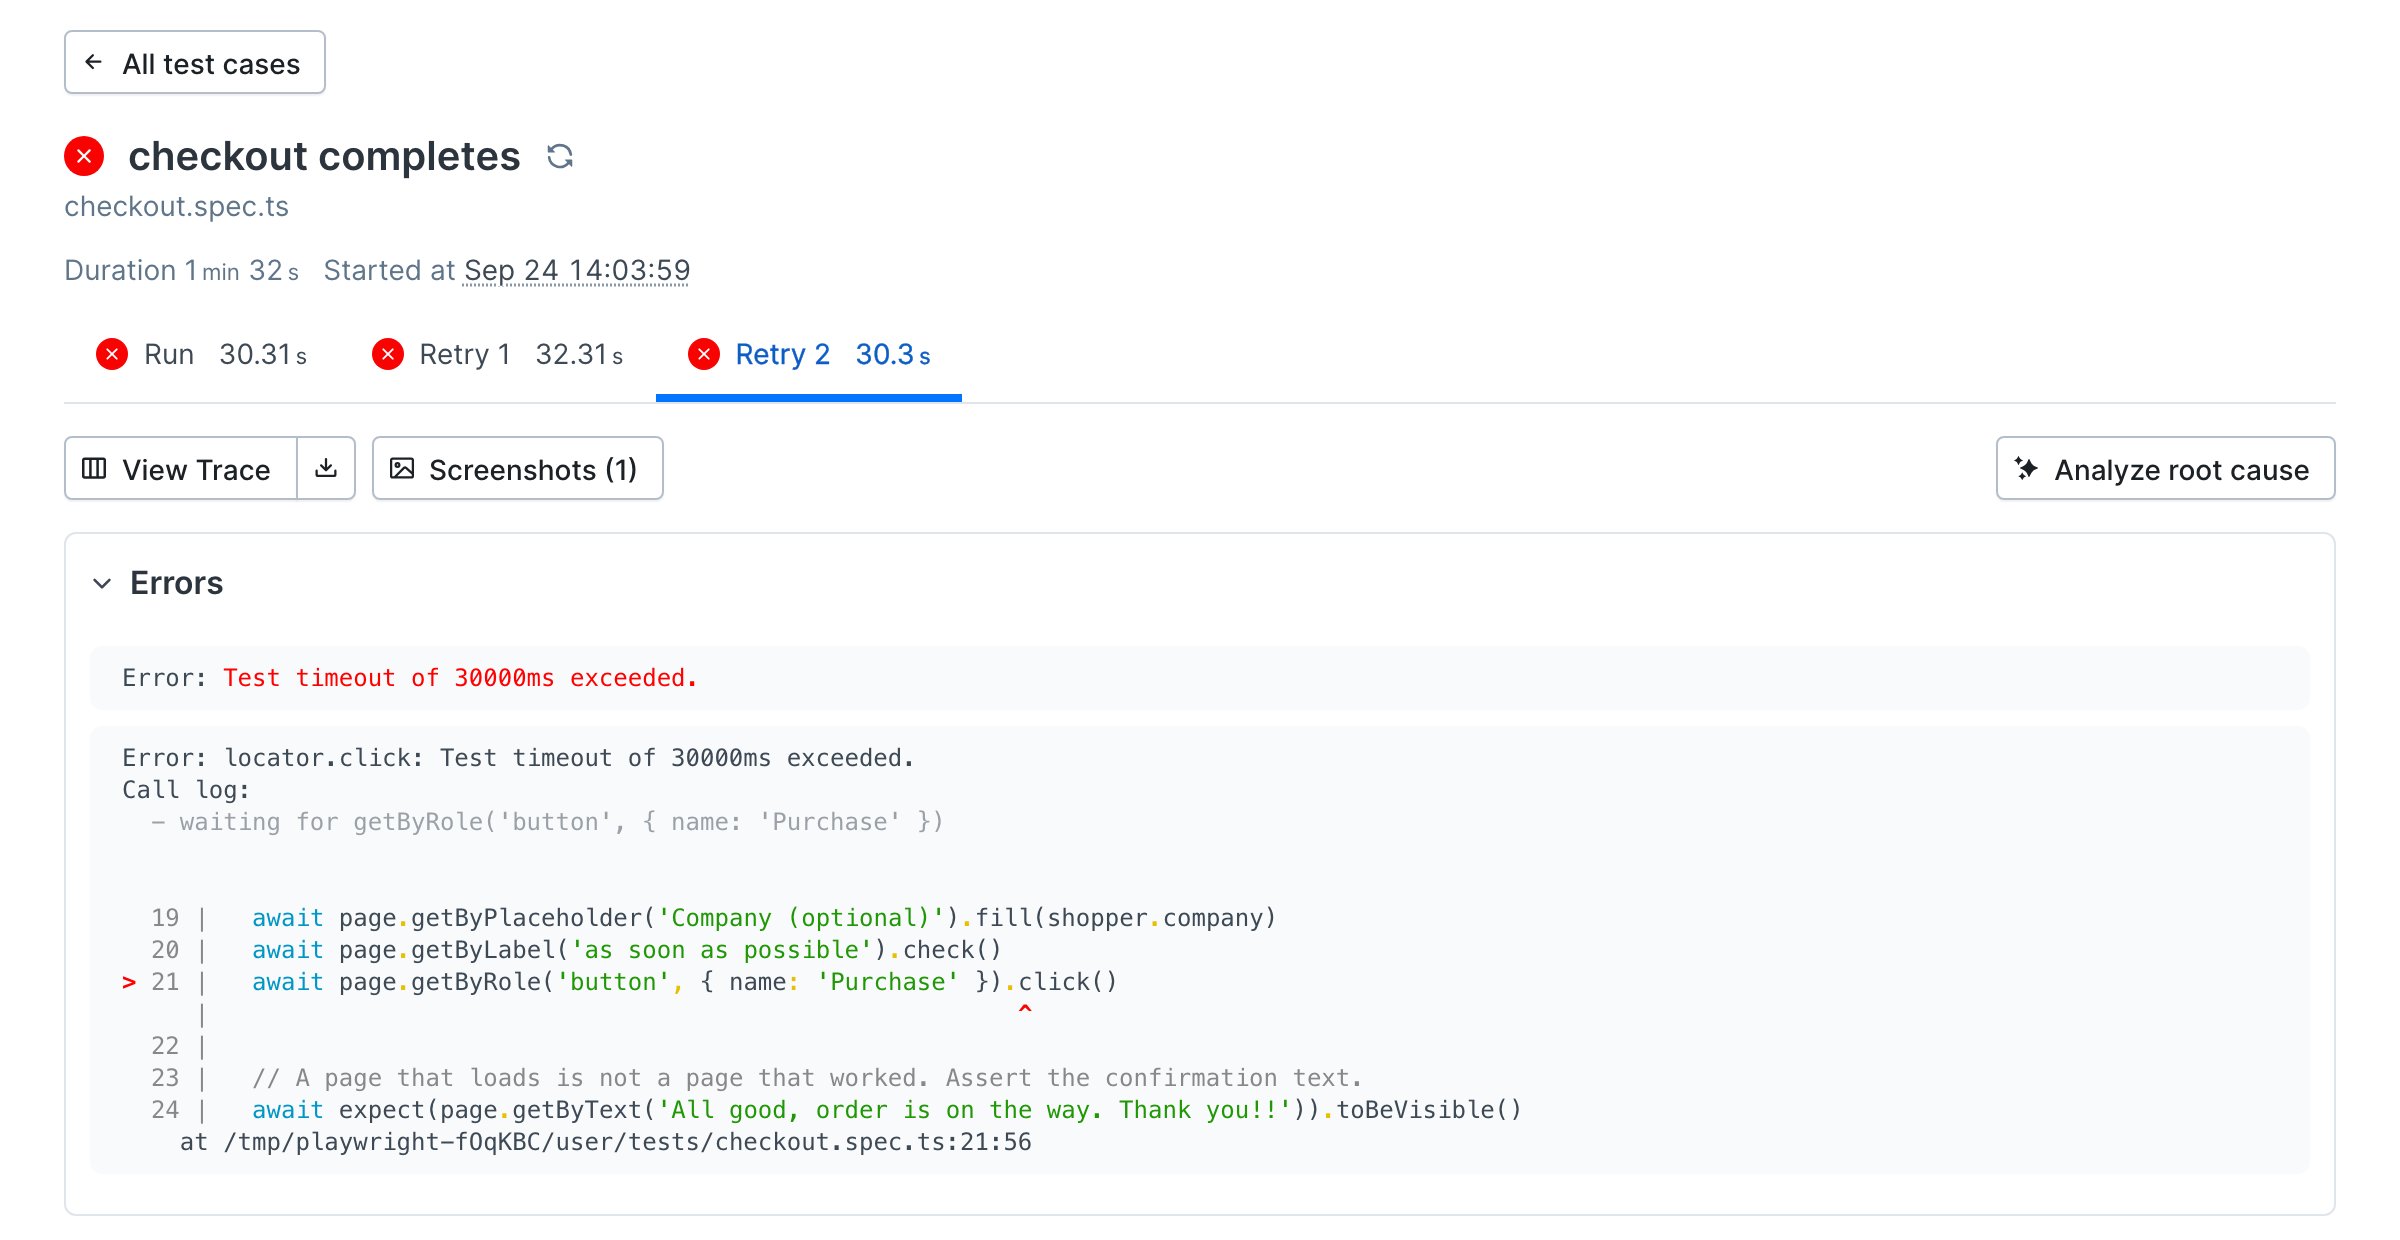
Buy back. The deployed monitor never saw the broken version, because only npx checkly deploy changes the monitor.
--grep matches the check’s name, not its logicalId.